|
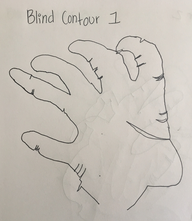
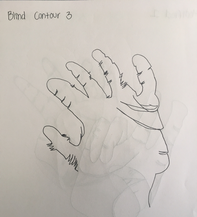
Blind contour hand drawings:
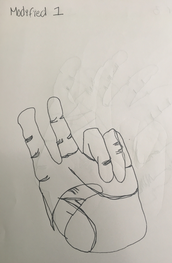
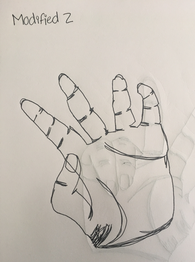
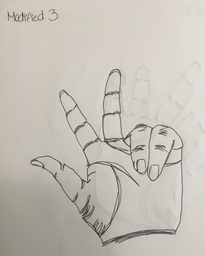
For my blind contour hand drawings I was not able to look at what I was drawing. I had to move the pencil on the paper imagining that the pencil point is actually the hand. I decided to start from the bottom of my hand adding every detail I saw. Modified hand drawings:
For my modified hand drawings I was able to glance and look at my paper. Since I could see what I was drawing I was able to add even more details making it look realistic. Backpack drawing: 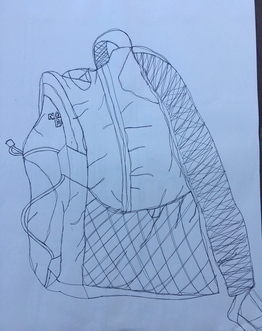 For my backpack drawing I first started from the bottom as well. Trying to use a fluid line throughout the whole backpack and adding all the folds I was able to see. Room drawing: Practice- 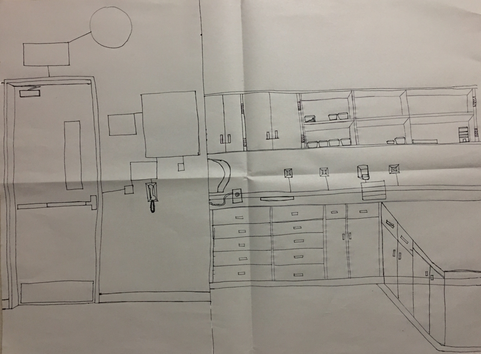 For my practice room drawing I tried to get all of my porportions right making it look realistic. I also tried to add as much detail of the room as I could. Final- 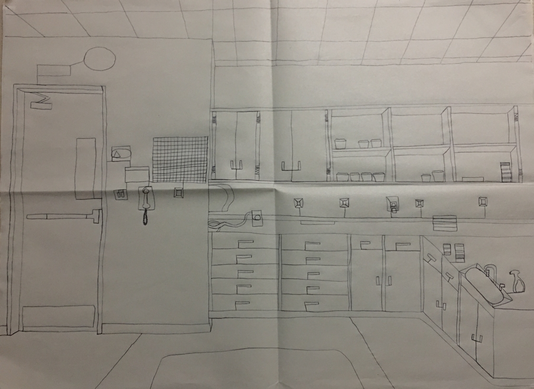 Drawing Critique Questions
1. Did you use a fluid line? Explain how is this evident? Answer: For my room drawings I did try really hard to make sure my line was fluid trying not to pick up my pencil. As I drew my picture I also tried to make it as realistic as I could. This is evident because usually when you stop and continue you see a line with an end and it is very helpful because it allows you to actually focus on how the object looks. 2. Explain how your knowledge and creating practice studies with contour line contributed to the success of your piece. Answer: I really think the practice studies we did actually helped me a lot in contributing to do my final. The first time try I made a lot of mistakes but they would be getting better each time tan the previous ones. I have always thought that practice makes perfection that why it is importanto to practice drawing. 3. Describe the difference in your contour line drawing to an outline drawing. Answer: An outline drawing is very different from an contour line drawing. An outline is the edge of a shape or figure depicted by an actual line drawn or painted on the surface. While contour is the perceived line that makes the border of an object in space. 4. Explain how your interpretation of line is essential in capturing the look of the room. Answer: For me line is essential in capturing the look of a room because it is what makes your room look realistic and adds detail. Line is an element of art used to define shape, contours, and outlines; also to suggest mass and volume. It may be a continuous mark but it is used to add detail on your drawings. 5. What did you learn from completing this drawing? If you could recreate your piece what would you do differently to enhance the final outcome? Answer: What I learned from completing this drawing is that the more you practice the better you get at drawing. I also learned that it is very important to actually focos on what you are drawing adding all types of details you see and not just on how it may look on paper.
0 Comments
The art criticism process involves four simple steps. The first step is to describe exactly what you see from the project. The second step is to analyze using the elements/principles to reflect upon the art form. The third step is to interpret by asking questions like
The piece I am going to critique using the art cisticim process is my tray set. Describe: In my piece I can see a green leaf bowl and a bowl that looks like a orange or an grapefruit. Analyze: My art work includes texture by the leaf design I made and the outside texture I made with aluminum foil on the orange bowl. Both of my pieces include color because they all come from the three primaries and black and white. Interpret: I am trying to explain how we seperate the fruit from nature. The leafs represent nature and the bowl represents the fruit. I did my art work in this particular style because I really wanted to make a leaf bowl and decided to make a bowl like an orange to go with the leafs. Evaluate: I feel that my art work was very successful because it turned out better than I expected and I really liked the design on the leafs it makes them look realiatic.  Pick 3 Questions #15: Which project was your most successful? Describe the theme and or topic and the process you went through to complete the project. My most successful project was the Linocut printmaking because I really liked how it looked at the end. To complete this project the first thing I did was to get a linoleum block and trace it onto a piece of paper and drew my design on it. Then I filled the back of my drawing with pencil and traced my design into the linoleum block. The third thing I did was to get the carving tool and carve out all the lines on my design. Lastly I added paint with a roller all over the top and pressed it into a piece of paper to leave the design on the paper.  #16: Do over- If given the opportunity, which project would you do over? Describe why and how you would redo this project. If I was given the opportunity to redo on of my projects I would redo my clay box project. I felt like my box looked plain and I did not like the colors I used. I would add more flowers to the outside of my box and add more details to make them look more realistic. I would also change the color of the blue outisde and make it more of a light blue or paint it purple. 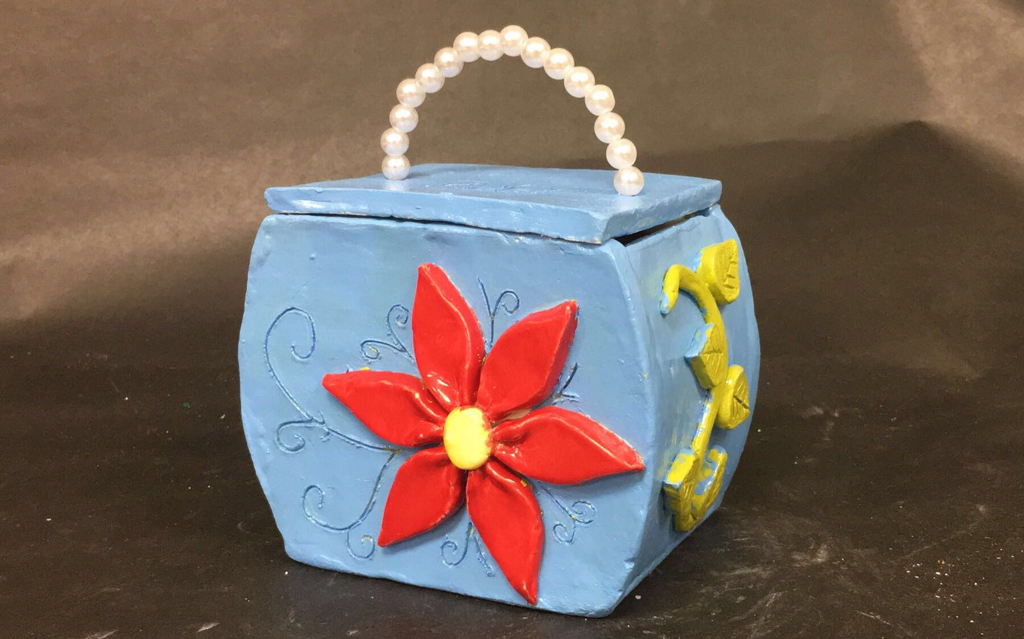 #20: Was there a tool you had never used before and learned in this class? What was it and how did you use it? Tools I used in art class that I had never used before are the ribs and scrappers. These tools can help shape and smooth pots as they are being formed on the wheel. Ribs come in many different shapes and usually are made from hardwood or rubber. Scrappers look a lot like ribs, but are lighter and used to smooth wet and soft leather-hard greenware. 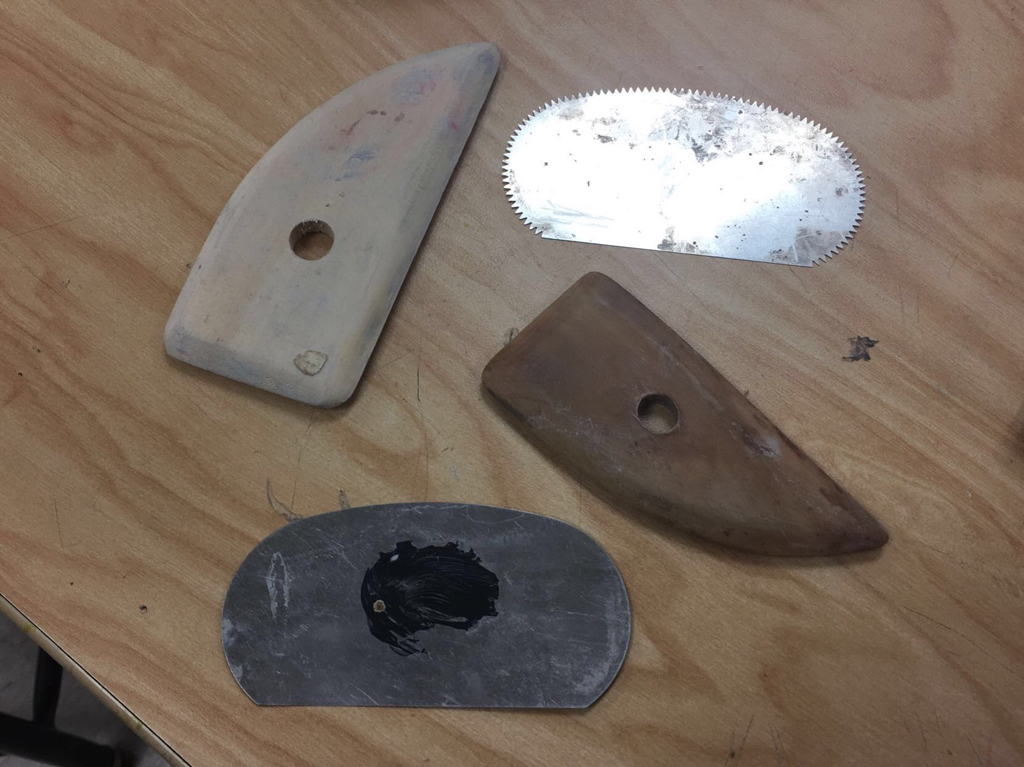 By: Ruby Acevedo
Block 1 By: Ruby Acevedo Block 1 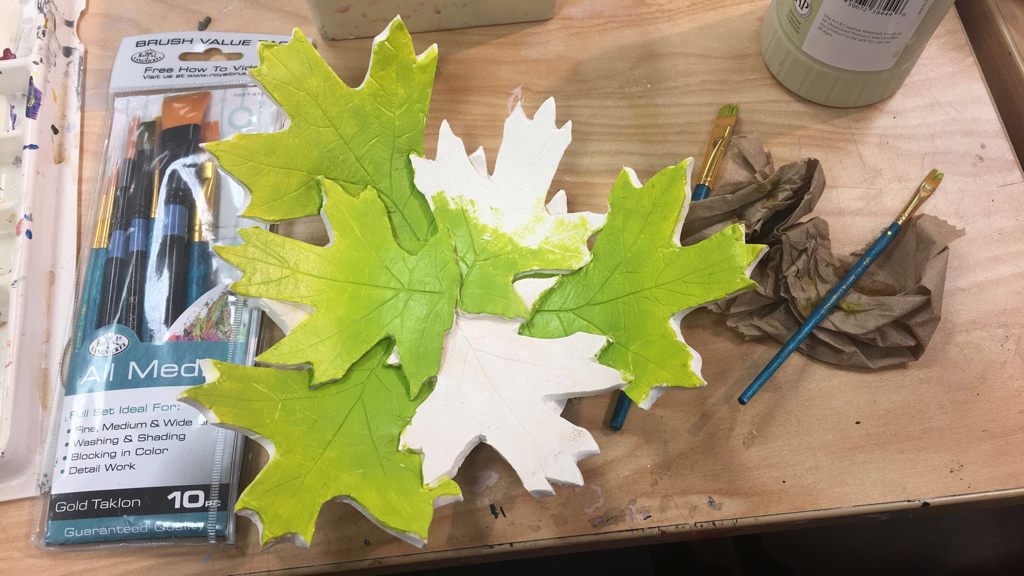 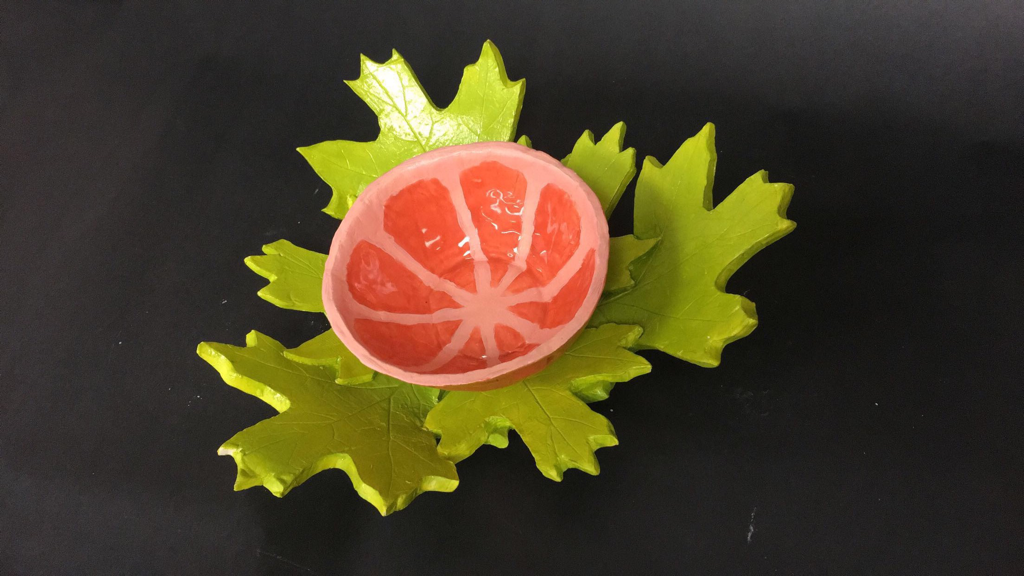 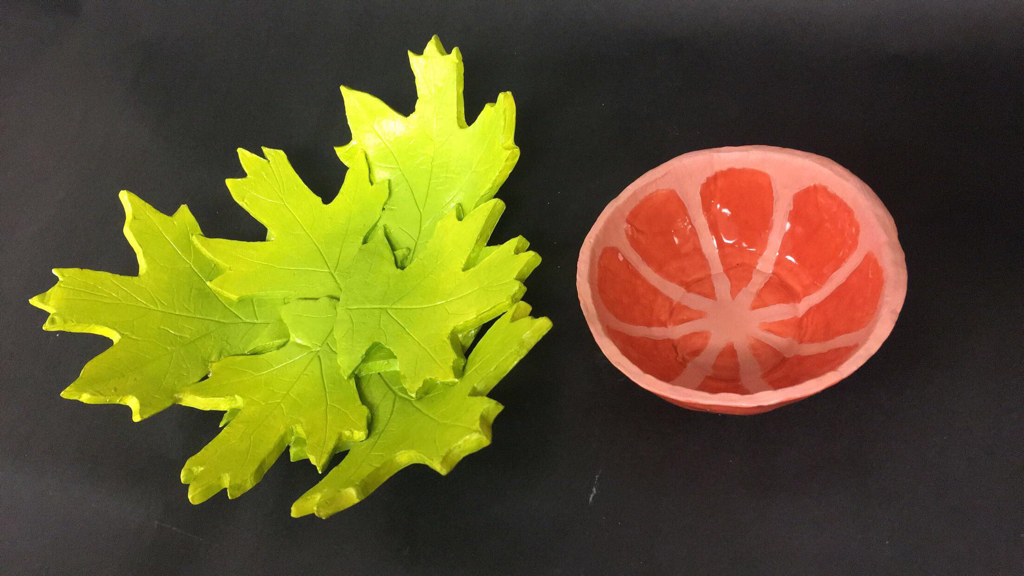 My tray set is used to place slices of oranges or fruit in my small bowl. My design makes it used for this because I made the bowl like an orange making it specifically for oranges. I came up with my idea because I had always wanted to do a leaf tray and decided to make a bowl that would look like a fruit. Later I came up with a orange because its round like a bowl and would be fun to make. The first thing I did for my leaf tray is made slabs of clay and traced a leaf into in and cut them out with an exacto knife. I later piled all my leafs and top of each other and waited until they dried for a while. Lastly I fired it and painted it with green acrylic paint. For my orange bowl I fist made a slab of clay and and pressed the clay down into a bowl and smoothing the sides with an sponge or wooden rib. Second I added texture to the outside with aluminum foil. Third I fired my piece and added the glaze I needed. Lastly I painted some of the inside with acrylic paint.
By: Ruby Acevedo Malagon Block 1 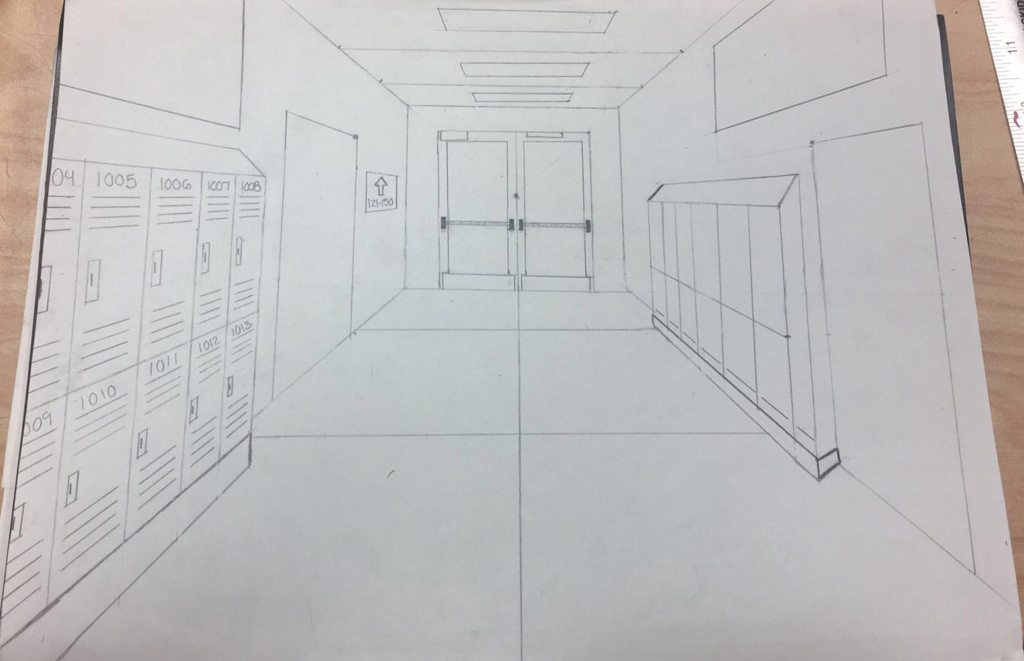 Piece in Progress 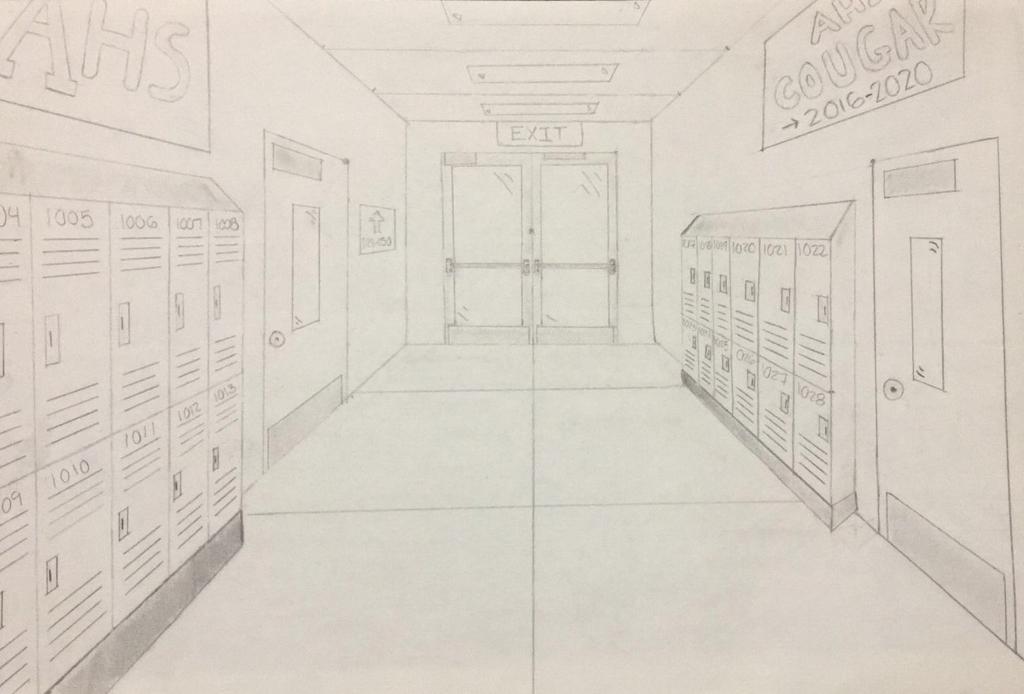 Finished Piece In my drawing I used one point perspective. One point perspective is a drawing method that shows how things appear to get smaller as they get further away, converging towards a single 'vanishing point' on the horizon line. The medium I picked was jusing only pencil and adding shadow to make the drawing look realistic. I took this photo at Apex High School on building B on the first floor. Something I found difficult about this project is starting it off, trying to make the right proportions for the drawing.
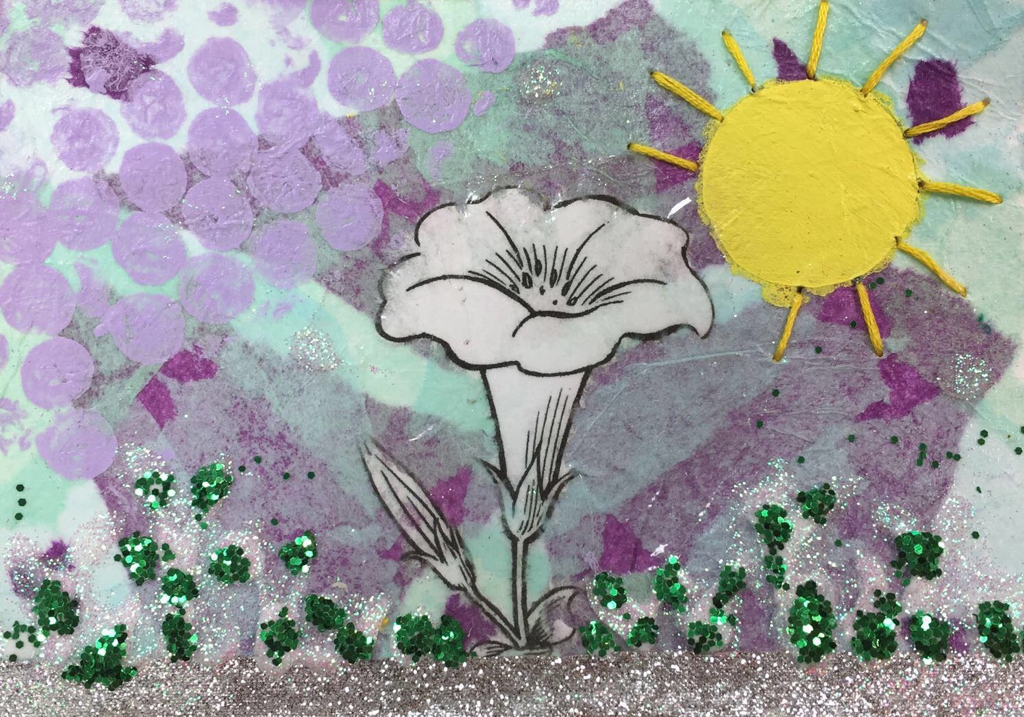 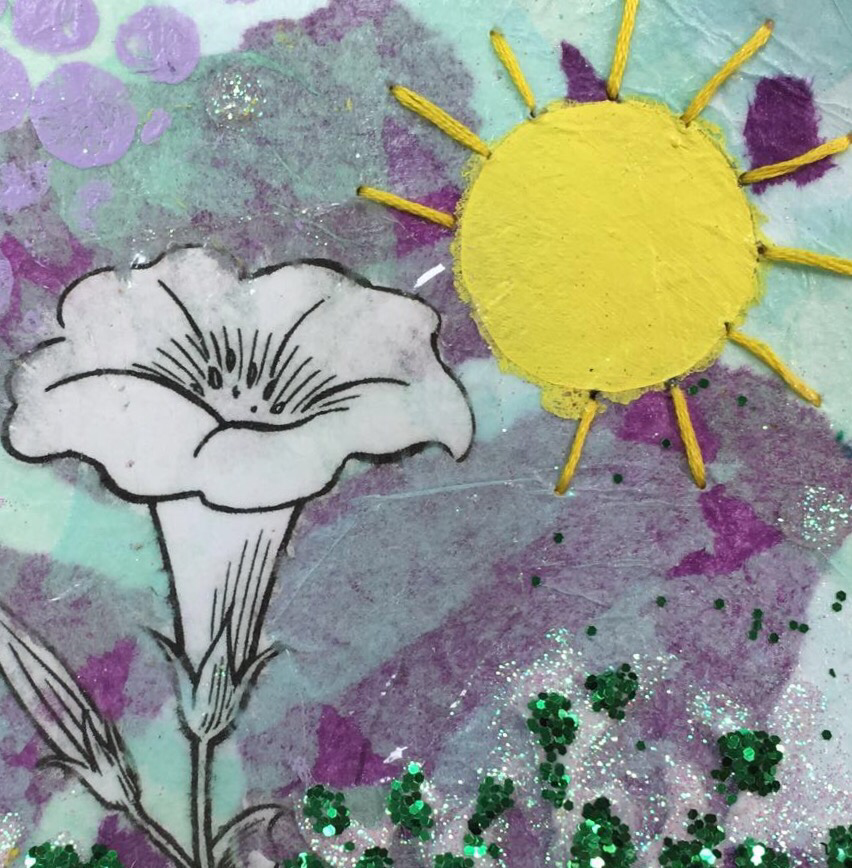 In my postcard I used 5 different types of techniques. The first technique I used was using a piece of paper to cut out a circle into it and then painting over it with acrylic paint. The second technique I used was to print out the flower and removing the excess paper from the back with water and gluing it to my postcard. The third technique was sewing the thread on the sun to make them look like the sun rays coming out. The forth technique I used was adding glitter to make it look like grass and used glued to make them stay. The fifth technique was using bubble wrap to paint circles on the background of my postcard. The word I had was "Garden" which I portrayed by adding the flower, grass, and sun. By: Ruby Acevedo Malagon
Block 1 Finished Blog Post: By: Ruby Acevedo 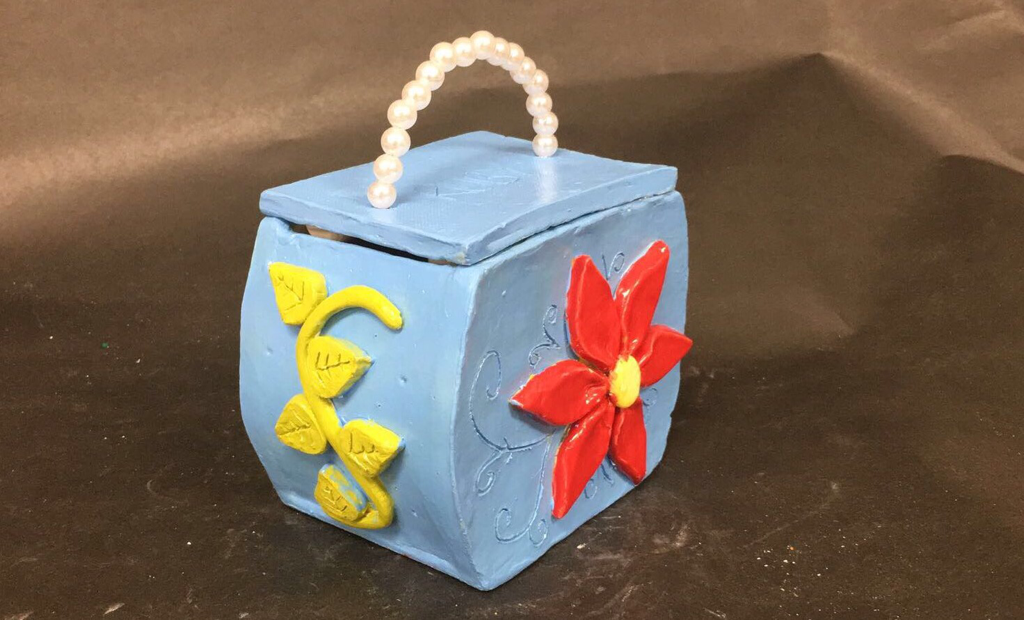 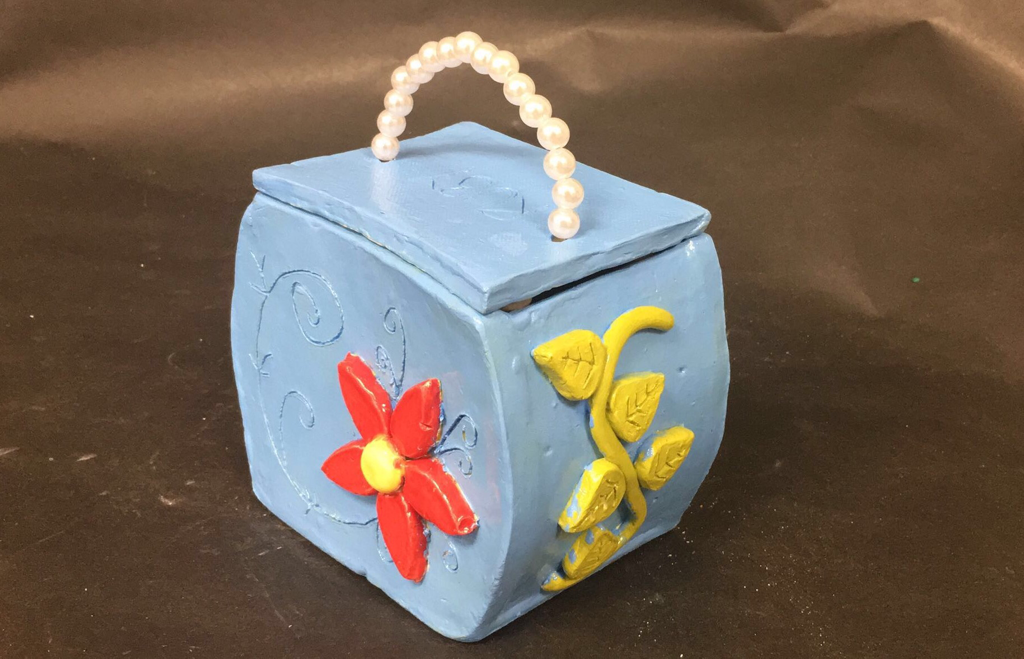 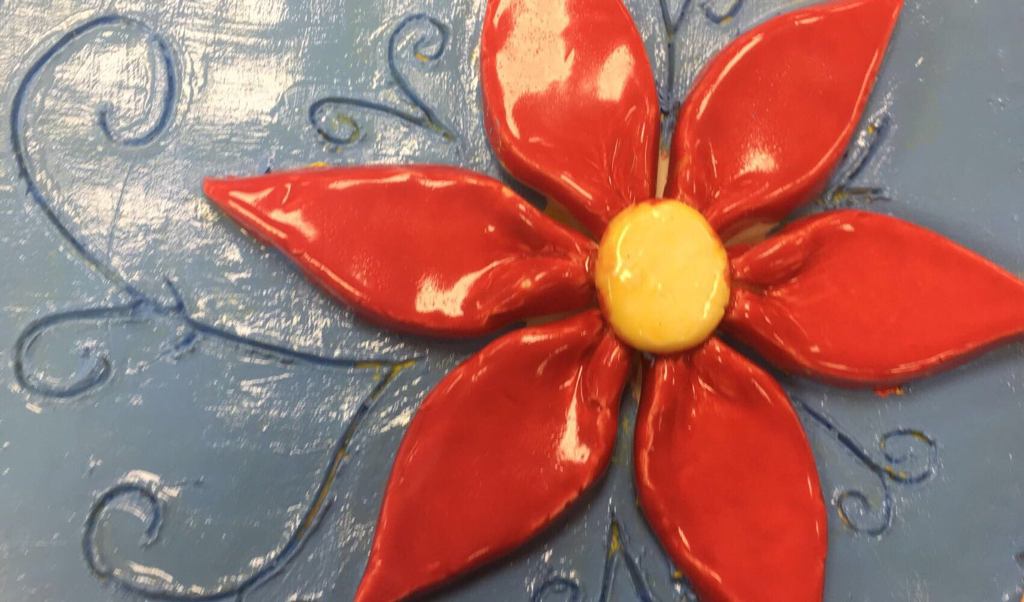 After my box was out of the fire kiln, I painted the flowers with red glaze and the inside of the box with clear glaze. Then I brought it back to the kiln for the second time becoming a glazeware. After it was finished I painted the leaves with green acrylic paint and the outside of the clay box with blue acrylic paint. Lastly, I just added glaze over the acylic paint to make it look more shiny and added pearls to a wire for the box lid. Something I have found successfully is how the flowers/leaves looked and I really like how the pearls I added makes the box pop out. If I were to do it again I would change the color of my box and add more flowers around it.
Optical Illusion By: Ruby Acevedo 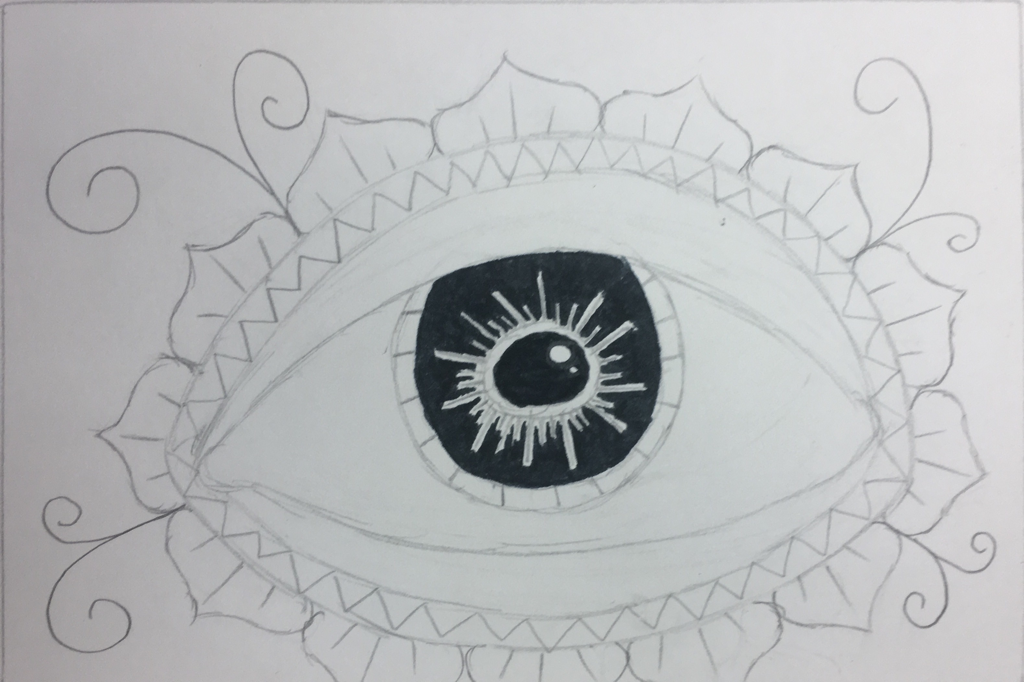 Photo of sketch: 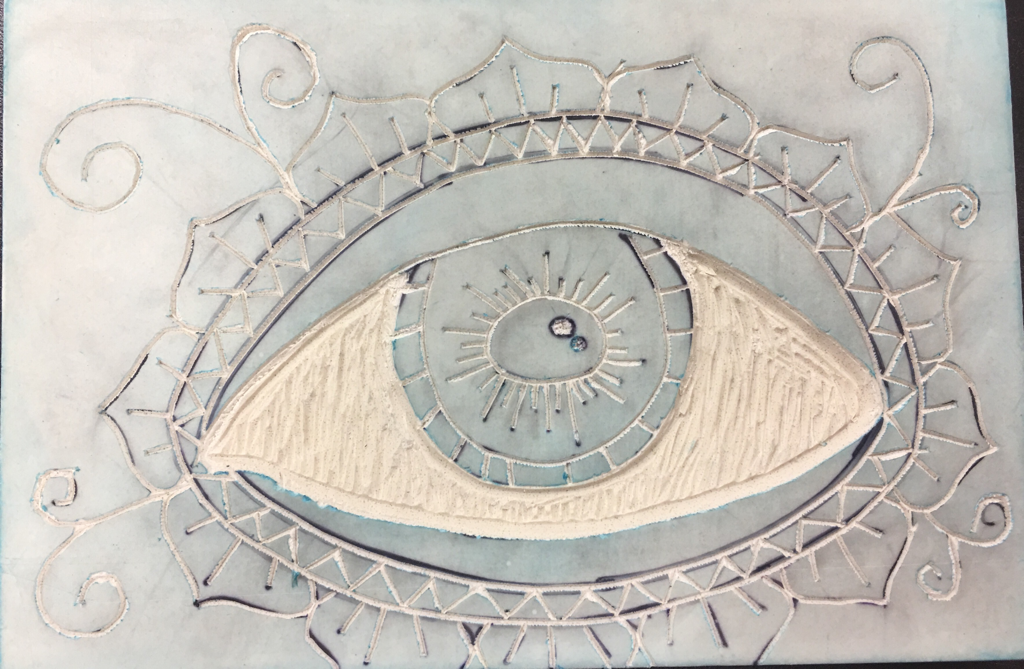 Photo of linoleum block: 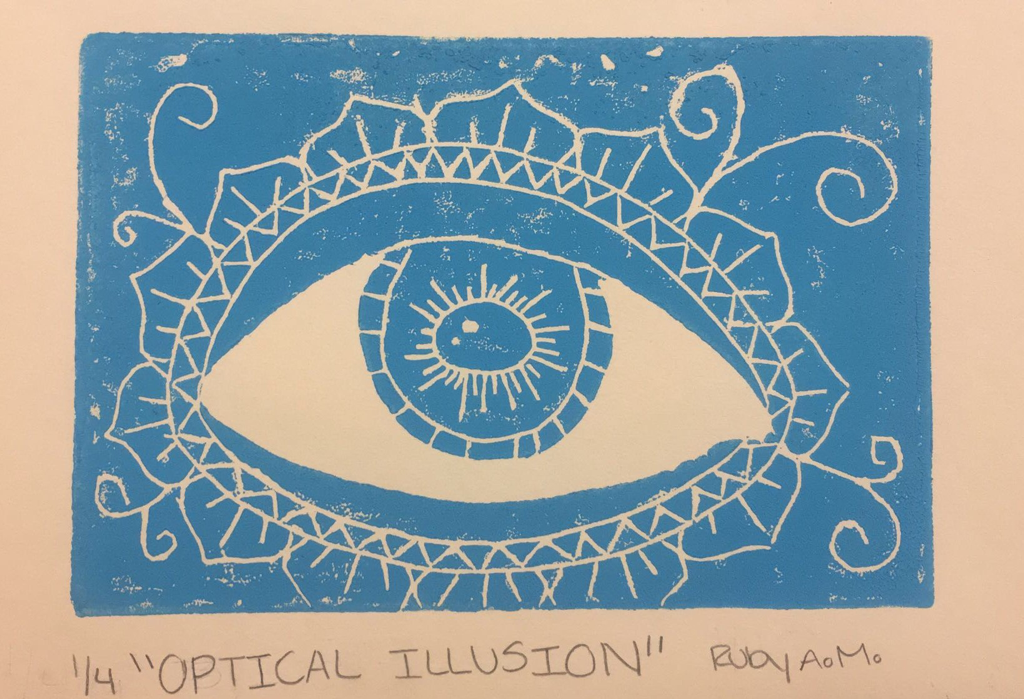 Photo of finished best print: My piece shows off the theme of "line" by the flower petals around the eye and the swirls coming from the flowers. My piece is successful because I was able to add all the curves and small details to show on my final print. If I were to do it again I would cut out the background and make the swirls pop out. I would also add more details to make the eye and flower look more realistic.
In Progress Blog Post: By: Ruby Acevedo 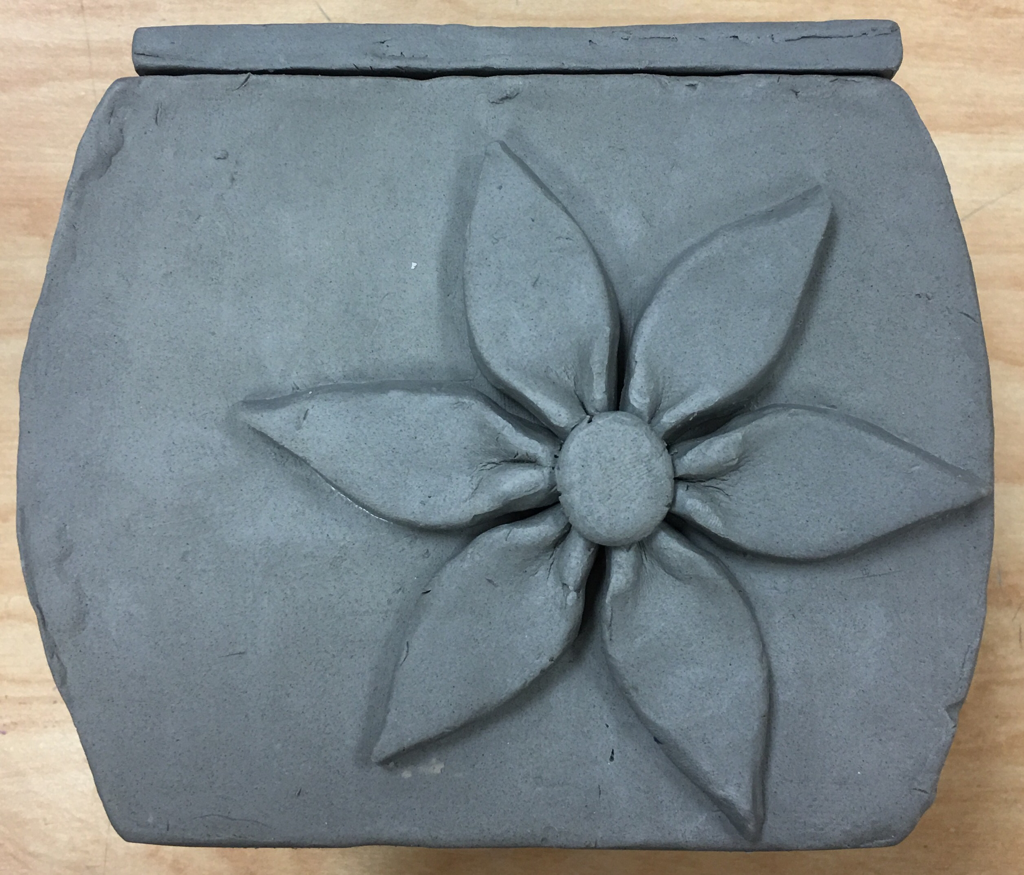 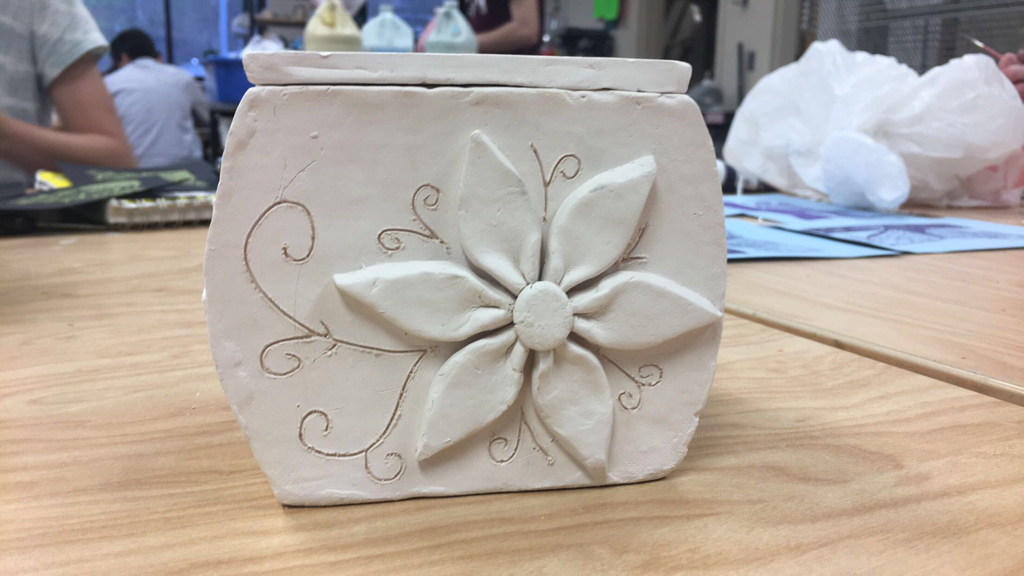 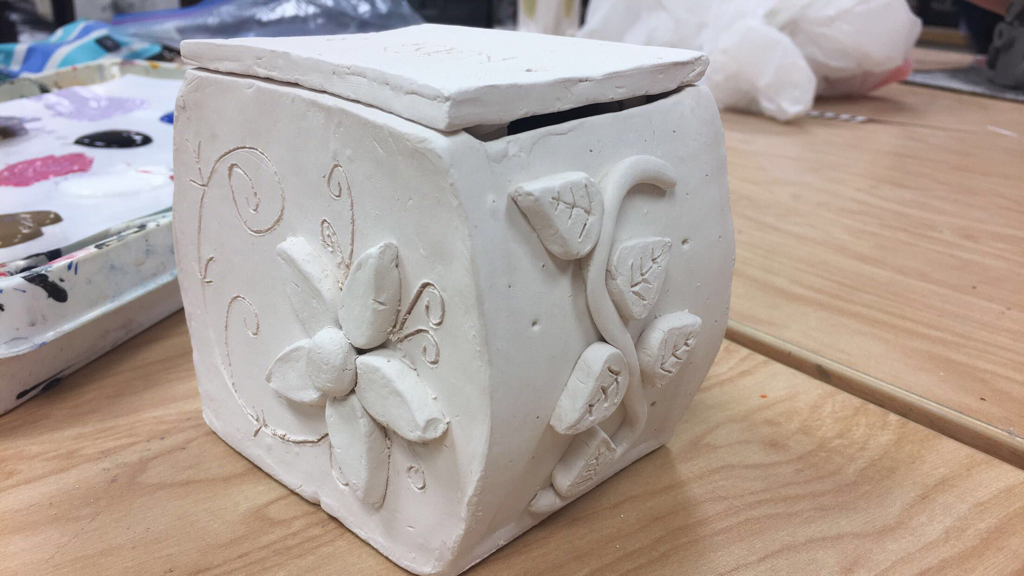 With my box I plan to finish adding all the flowers/leaves and fire the clay. After its out of the fire kiln I will paint my flowers with red glaze and the inside of the box with clear glaze. I will bring it back to the kiln and after its done, paint the leaves dark green and the box light green with acrylic paint. Something I have found difficult so far is to score and slip the sides because I had to hold them until they stayed together. Also making the two curved sides on my box because they would start to crack. Something I have found successful is how the leaves look realistic and the shape of the box. First, I made slabs of clay to cut out the sides of the box. Then, I scratched and slipped the sides to make the shape of my box. Third, still greenware I added the flower petals/leaves and added all the small details. Lastly, I made the box lid and brought it to the fire kiln to become a bisque and harden.
|
Ruby AcevedoGrade 10 Archives
September 2017
Categories |

 RSS Feed
